Wednesday, October 30, 2013

Autumn's All Around

Hi Everyone,

I completed this project for the KellyCraft Blog and I thought I would share it here with you!

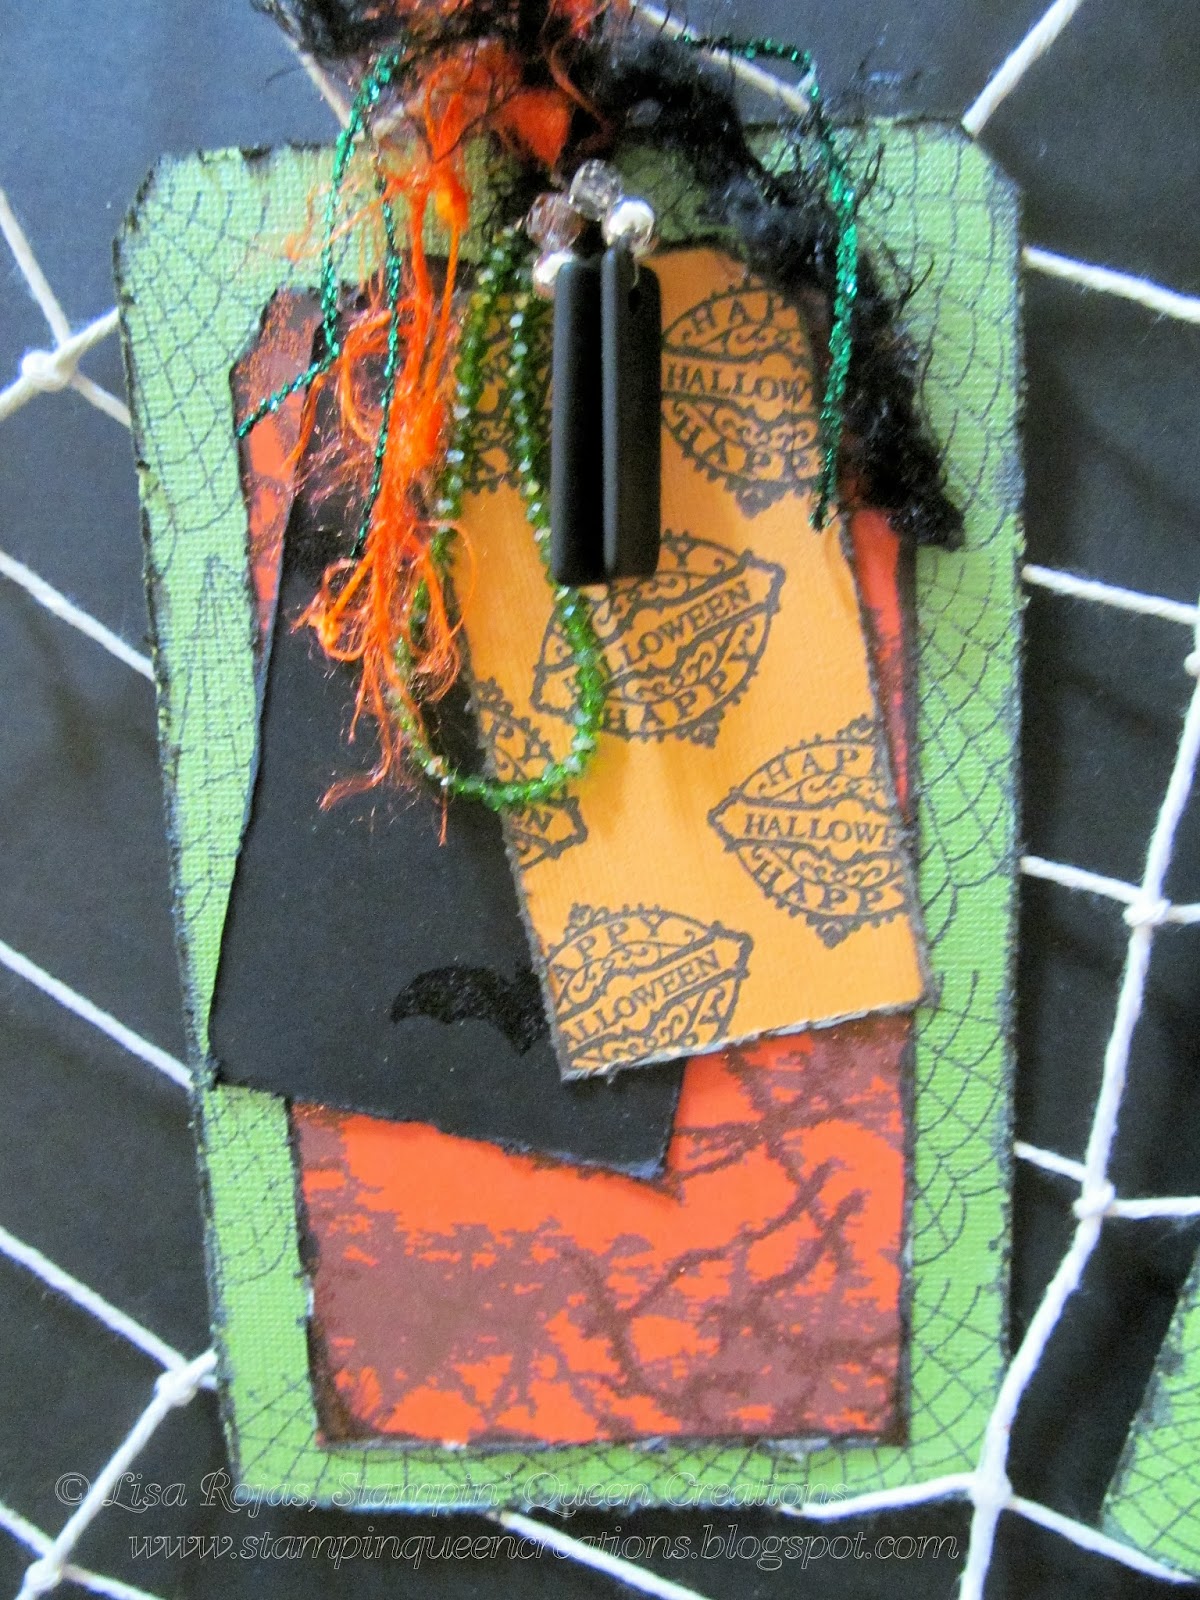
I am back with another great project using the KellyCraft Get-it-Straight Laser Square. I know that I have said it before, but really, I love this product! This tool is what I call my all-in-one! I have been stamping for many years and I can't tell you how many times my project is almost finished and I stamp that last image only to have it not stamp completely on my paper. How frustrating! Well, with my Get-it-Straight Laser Square not only can I line my page elements up perfectly, I can also use it to re-stamp my incomplete images. I am so in love!

This project is a fairly simple to create and sunflowers for me, always remind me of Autumn. With the stamped sunflower and a few embellishments, you have a wonderful project that you can hang on the wall or sit it on your table. And for a beautiful table centerpiece, place your frame on a table next to a vase filled with sunflowers. Now that would be very, very pretty.

Thank you for joining me. Until next time...
 
Crafty hugs,
 
Lisa
Stampin' Queen Creations
&
Bella Crafts Quarterly
 
Give The Queen A Call!!!


Supplies

8" Square Canvas
Pattern Paper
Cardstock- Tan, Rust, Brown & Yellow
Lace & Trim
Straw Ribbon
Brown Ribbon
Acetate Words
Glue Gun
Micro Beads
Dove Blender Pen
Foam Tape

Instructions
Using the Get-it-Straight Laser Square line the pattern paper
and adhere it to the canvas


Stamp the sunflower on tan cardstock three times
and the butterfly twice.


Color the stamped images with Faber-Castell chalk pencils
and blend the colors with a blender pen


Add Zip Dry Paper Glue to the center of the top sunflower
and cover with micro beads. Pour excess beads back
into the container


Using a Cricut Personal Cutting Machine with the Fancy Frames
cartridge, cut out three frames with yellow, brown & rust
cardstock. Adhere the frames together. Add foam tape to the
back of the frames


Cut out all three sunflowers. Add foam tape between each
sunflower and adhere to the frames. Cut out both butterflies
and adhere them together at the butterfly's bodies, leaving
the wings free


Using the Get-it-Straight Laser Square, line up all of
your elements and adhere to the canvas.


After you have added all of your elements, adhere trim
around outer edge of the canvas with a glue gun.
Add brown bow and you're done!


Monday, October 28, 2013

Creepy Halloween Card

Hi Everyone,

Halloween is one of my favorite holidays! I love all the decorations, food, and all of those little ghouls & goblins ringing the doorbell and screaming "Trick or Treat!" Since my kids are grown now I don't get to take them around the neighborhood with their treat bags, but with my first grandbaby due in December, I'm sure going to take her next year!!!

As I was thinking about my project for this post I was thinking about making a treat bag for my soon- to-be grandbaby but since I can't take her out until next year, I decided to make this fabulous grown up Halloween card. My Get-it-Straight Laser Square made this card a breeze to make. I loved be able to put ribbon on my card and have it straight. I have never been able to do that before!

So, let's get started and I will show you once again why you really need this great tool in your studios!!!

Thank you for joining me. Until next time...
 
Crafty hugs,
 
Lisa
Stampin' Queen Creations
&


Supplies
Black Cardstock- 10"x10"
White Cardstock- Scraps
Green Glitter Paper- 2 3/4"H x 1 1/2"W,  3 1/4"H x 1 1/2"W, 3 3/4"H x 1 3/4"W & 6 1/2"H x 2"W
Pink Paislee Pattern Paper- 6"x6"
Pink Paislee Clear Stamp Set- Phantom                                                                       
Recollections Adhesive Rhinestones- Black
Recollections Glitter on a Roll Stickers
Recollections Glitter Ribbon
K & Company Halloween Stickers
Clearsnap Top Boss Watermark Inkpad
Black Tinsel Embossing Powder
Beacon Adhesives Zip Dry Paper Glue
Westcott Personal Paper Trimmer
Westcott 4"Titanium Scissors
Heat Tool

Instructions:

Gather your supplies


Fold black cardstock in half. Using Zip Dry Paper Glue adhere pattern paper to base card. 
 Line up ribbon on card with the Get-it-Straight Laser Square; and adhere to card.


Stamp images on white cardstock, emboss with black tinsel powder and heat set.
Cut images out and adhere them to the green glitter cardstock.

Layer stamped images on card base using the Get-it-Straight Laser Square.
Adhere the Fleur stickers along top and bottom on card.


Next, add black rhinestones and stickers. 


 That's it. You're done!!!
Created Easily with the Get-it-Straight Laser Square.

Friday, October 25, 2013

Halloween Tags with Connie Crystal

Hi Everyone,

For this project I will be highlighting two companies, Connie Crystal and Robin's Nest.  I wanted to show you that the beautiful bling from Connie Crystal can be used for more than just jewelry projects.

With Halloween right around the corner, I decided that I wanted to design some tags with these great Halloween themed pattern papers from Robin's Nest. They are easy to create and with Connie Crystal's bling added to them, they're just fabulous!!!

Thank you for joining me. Until next time...
 
Crafty hugs,
 
Lisa
Stampin' Queen Creations
&
 
Bella Crafts LLC
 

Halloween Tags
 
Materials
 
Cardboard- Green & Orange
Various Fibers
Fishing Line
Tim Holtz Paper Distresser
 
Instructions
Gather all f your supplies.  The tag sizes are as follows:
4 1/4"W x 7"H, 3 1/4"W x 6"H, 2 1/2"W x 4 1/4"H and
2"W x 3 3/4"H.  Cut 2 large tags from green cardstock,
cut 2 medium tags from pattern paper, cut 2 small tags
from black pattern paper and 2 extra small tags from
orange cardstock.
Stamp green tags and orange tags with wicked black
inkpad.
Ink edges of all tags and distress tags with tool.

Adhere all tags together with Zip Dry.
Add sea beads and micro beads to fishing line.  Attach
all the beads and fibers to each tag.


Tuesday, October 22, 2013

Adorable Headband & Bracelet

Hi Everyone,

Ever since my daughter gave birth to my beautiful grandbaby my creative spirit has been focused on everything baby!  I've created frames, clothing, etc. all relating to babies and children.  This project is a perfect example of my mind set. 

When I first saw these beautiful pink beads, my first creative thought was that these would make a great project for a baby or child.  I could just picture my little granddaughter wearing this headband and bracelet.  She would look so adorable!  I can't wait to give them to her!

Thank you for joining me. Until next time...
 
Crafty hugs,
 
Lisa
&
 

© Lisa Rojas, Stampin’ Queen Creations

      www.stampinqueencreations.blogspot.com

For a complete material list and
instructions for this project please
visit Connie Crystal Blog at
www.sparklebycc.com
 

Wednesday, October 16, 2013

Happy Birthday Bella Crafts Quarterly!

Hi Everyone,

Bella Crafts Quarterly is celebrating it's very 1st birthday and you are all invited to help us celebrate!!!  I can't believe that it's already been a whole year since my business partners and designer friends, Ann Butler, Carol Heppner and Theresa Cifali and I began this fabulous adventure!

We are having a birthday party blog hop and we would love for you to join us.  All you need to do is click on the link and join in on all the fun.  We have 15 designers that have each created a project in honor of Bella's birthday.  And if that's not enough excitement for you, we also have an amazing GIVEAWAY  from Graphic 45!!!

Click Here to Enter!


We want to thank all of the designers and manufacturers that have given us so much of their time and products.  Our birthday hats are off to all of you!  And now, without further delay...let the party begin! 


Here's my project


Materials
Cardstock- black, purple and orange
Rowlux Specialty Paper- green
Spellbinders Nestabilities Rounded Squares Die Cut
Spellbinders Grand Calibur Machine
ColorBox Surfacez Inkpad- black
Aleene's Tacky Line Roll
Tulip Fashion Glitter- black
Zutter Distrezz-it-All machine
Rubber Stamps

Instructions
1.  Cut black cardstock 4 3/4" x 7 1/2".  Cut Rowlux paper into tag shape 4 1/4" x 7".  Stamp spider webs on Rowlux paper with black inkpad.  Apply tacky tape around the edges and add glitter.
2.  Cut out rounded squares with die cuts and die cut machine in purple and orange cardstock.  Distress edges and stamp swirls and words.  Ink edges.
3.  Punch hole in top of tag and add fibers.  Adhere Rowlux paper to black cardstock with tacky tape.  Adhere stamped squares to front of card as shown.
 

Be sure to check out the rest of the blog hop with the links below:
 

Friday, October 4, 2013

Bella Crafts Quarterly Turns 1 Year Old!!!!


Hi Everyone,

I am so pleased to announce that our FREE online craft magazine, Bella Crafts Quarterly, is 1 year old!!!   We are so excited to be celebrating our birthday that we wanted to include all of you in our celebration!

We will be hosting a blog hop on October 16th.  We have 15 professional designers that will be creating very cool projects from our sponsoring companies.  We will also be hosting a contest with a fabulous gift package from Graphic 45!  Be sure to stay tuned for all of the upcoming details.

Thank you for joining me. Until next time...
 
Crafty hugs,
 
Lisa
Stampin' Queen Creations
&

Thursday, October 3, 2013

Happy Birthday Bella Cratfs Quarterly

Hi Everyone,


I am happy to announce that it was one year ago today that me and three of my creative friends  released the Premier Issue of Bella Crafts Quarterly.


 It was a Halloween Issue, which was FREE to download as all of our issues are.  If you have not checked it out yet no worries as each edition is always available on our web site.

We will be having a Birthday Celebration Blog Hop on October 16, 2013 with several of our creative friends so watch for details and be sure to join in to see what everyone is crafting!

Wednesday, October 2, 2013

Beautiful Beaded Bookmark

Hi Everyone,

Have you ever purchased something only to take it home, take it apart and remake it into something different?  I have, and this project is one of those times!

I first purchased this bookmark at the store one day when I was really in a hurry.  When I got home and took a closer look  at it I hated it! It had some ugly fish looking bead (at least I thought it was a fish!) on it with some other type of beads.  I thought to myself this will never do, I want something pretty to look at when I'm reading.

I solved my problem by taking it apart and adding these gorgeous sea beads from Connie Crystal.  I have been working a lot with these sea glass beads because I just can't get enough of them.

This is another very simple project, but again, creating something that is simple to make does not mean it can't be fabulous!

Thanks for joining me. Until next time...
 
Crafty hugs,
 
Lisa
&
 
For complete instructions and material list, please visit
my post on the Connie Crystal Blog at