Monday, September 24, 2012

Fun & Funky Keychains


Hi Everyone,
 
I thought for today’s blog post I would share a rubber stamped project that I created. In a recent blog post, I made a confession about my inability to draw. Since they say that confession is good for the soul, I have another confession I want to share… I lose my keys all the time! That’s right. I said it and I can’t believe I admitted to that out loud, but it’s true. I am forever misplacing my keys!

When my kids were little, I used to blame it on them all the time. I would tell myself that they were just playing a game of hide and seek with me and my keys (I know, I’m a terrible mother!). But as my kids got older I finally had to admit to myself that I truly am a bonehead that is always losing her keys.

That is how this project came to be. I wanted to create a key chain that would be easy to locate (even for me!) but I wanted something that would be cute and durable. I also wanted something that would be easy to find in what I like to refer to as the “Deep Hole in Hades”, or better known as my purse. Let’s face it ladies, the bigger the purse the more stuff we can put into it. I don’t know about you, but for me a bigger purse causes many more problems in finding my keys.

So, in honor of all the women out there that have a habit of losing their keys, this project is for you. I have included four different styles of key chains you can make yourselves, but don’t make just one. Make all four so you can interchange them with your ever changing moods.
Thank you for joining me. Until next time...
Crafty hugs,
Lisa
Stampin' Queen Creations
Give The Queen A Call!!!


SUPPLIES FOR ALL KEY CHAINS

  • Mat board
  • Tags- 2”W x 3 ¾”H
  • White card stock
  • Key rings
  • Aleene’s Paper Glaze
  • Aleene’s Clear Gel Tacky Glue
  • Therm O Web Super Tape
  • Copper tape ( for The Queen key chain)
  • Silver embossing powder (for the Celestial key chain)
  • Purple embossing powder ( for the Birdhouse key chain)
  • Black dye-based inkpad
  • Krylon Preserve It! Spray Sealer
  • Delta Ceramcoat Acrylic Paints- Purple (for the Birdhouse), Fruit Punch (for the Rose), Straw (for the Queen), Metallic Silver (for Celestial)
  • Loew-Cornell Pastel Chalks
  • Jacquard Pearl Ex Powders
  • Assorted fibers and beads
  • Heat tool
  • Exacto knife
  • Rubber Stamps:
  • Rose by DeNami
  • Musical notes by Stampendous
  • Birdhouse by Stampington & Co.
  • Queen bee and Celestial by All Night Media

INSTRUCTIONS FOR ALL KEY CHAINS

  1. Lay manila tag on to mat board and trace with a pencil four times. Cut out mat board with exacto knife. Place tag down again on white card stock. Trace twice and cut out. NOTE: You will be using two manila tags (for The Queen & The Rose), and two white tags (for Celestial & The Birdhouse).
  2. Stamp all tags with black inkpad. Add color to stamped images using chalks. For The Queen, use Pearl Ex powders to color image. Seal tags with Krylon Preserve It!. After tags have dried, glue tags to the mat board with tacky glue.
  3. Spread a layer of Paper Glaze over top of each tag. Let dry completely to a clear finish. NOTE: Dry time will depend on the amount of Paper Glaze used.
  4. To edge around each tag do as follows; Use copper tape for The Queen. For the Birdhouse and Celestial, wrap Super Tape along the edges, then dip edges into embossing powders. Melt with heat tool. For the Rose, paint edges and back with red paint.
  5. Finish the backs of the tags by painting them with coordinating colors. Add fibers, beads and key rings to each tag for the finishing touches.

Friday, September 21, 2012

Guest Blogger- Linda Chilcott!!!

Hi Everyone,

It's Guest Blogger Day here at Stampin' Queen Creations! What does that mean you ask? Well, it means that every Friday I will take off my crown and pass it on to a fabulous professional designer who's work I respect more that words can say. Today I pass my crown to my friend, professional CHA Designer, Linda Chilcott!!!

I am excited to have Linda as my Guest Blogger today! I met Linda a few years when I was helping my designer friend, Ann Butler, in the workshop she was teaching at the CHA show in Anaheim. Linda was taking the class at the time and she asked me for some help with the project she was working on. As I was helping her we struck up a conversation. Linda explained that she was new to CHA as a designer and the next thing I know we had spent two hours talking like we have known each other for years! I told her everything I knew about CHA, being a designer and the programs and opportunities that we have as designers. The next thing I know Linda is asking me to be her CHA Designer Mentor and the rest as they, is history!

Linda is a very talented mixed media designer and she loves adding new products to her designs. She also loves to learn new techniques and apply those new techniques to her work. She is always asking questions and looking for ways to better improve her work.

Linda's project that I'm sharing with you today is one of my favorites. I am always looking for new items to stamp on like the popcorn container I shared with you on Monday, and this project is something way out of the box! Linda's project is made from paint sticks that you can get a your local hardware store. I absolutely love that idea! I would have never thought of paint sticks!!!

For more information on Linda's work, please visit her website at www.whimsicalcraftstudio.com.  Go check out what she can do with paper napkins!

Linda, as your mentor and your friend I just wanted to tell you how proud I am of you. You have come along way with your business and I know that if you keep working at it, you can achieve all of your dreams. Keeping moving forward!!!

Thank you for joining me. Until next time...
 
Crafty hugs,
 
Lisa
Stampin' Queen Creations
 
Give The Queen A Call!!!


Photo: Here is a picture of Greeting Card made fom paint sticks. I wanted to make a project for the guys in our lives.

©Linda Chilcott, Whimsical Craft Studio


Thursday, September 20, 2012

Neenah EPC Film Blog Hop

Hi Everyone,

My friend Ann Butler, asked me to post the folllowing information on my blog about a new blog hop that she has coordinated and it starts today! If you get a chance, head on over and check it out!

Here is what Ann has to say about it:

 I am so excited to announce a new blog hop beginning today featuring Neenah EPC Film. You can create and personalize tee shirts and a variety of other items with Neenah EPC Film; which is so Quick and Easy and you get great results! Neenah EPC Film comes in 5 colors: Red, Black, White, Green and Blue.

Use your personal die cutting machine to create a design or phrase (in reverse) or simply free hand a design then just iron them on! I created a video which shows exactly how quick and easy it really is you can check it out here: http://www.youtube.com/watch?v=uPqmew7FNaM

I am honored to be in the company of such talented designers, Melony Bradley, Eileen Hull, Jonathan Fong and Debra Quartermain! It is going to be a hop with a new project every Thursday for the next 5 weeks that is filled with inspired and wonderful designs with a very cool product! So please check out Melony's post today and check out the schedule below so you can hop along with us!
 
Thursday, September 20th
 
Thursday, September 27th
 
Thursday, October 4th  
 
Thursday, October 11th
 
Thursday, October 18th  
 
Thank you so much for joining me. Until next time...
 
Crafty hugs,
 
Lisa
Stampin' Queen Creations
 
Give The Queen A Call!!!


Wednesday, September 19, 2012

Wordless Wednesday- Bless This Home Card

Wordless Wednesday's are the days that I post just a project without instructions or a supply list.
 
 
Hi Everyone,
 
For today's Wordless Wednesday project, I want to share a card I created for Clearsnap. This is a very simple card to make and you can get it finished in under an hour! Give it try.
 
If you ever create a project of your own either copying my ideas or making something with one of my ideas I would love to see it. Send me a picture and I'll post it on my blog!!! I would love to see what you're working on!
 
Thank you so much for joining me. Until next time...
 
Crafty hugs,
 
Lisa
Stampin' Queen Creations
 
Give The Queen A Call!!!
 

© Lisa Rojas, Stampin’ Queen Creations


Tuesday, September 18, 2012

KellyCraft Blog Post

Hi Everyone,

I told you all about this fabulous new tool from KellyCraft Innovations called the "Get It Straight" Laser Square that I found at the CHA summer show in July. I also told you last week that I was asked to join their Design Team (probably so I would stop drooling over their tool and start creating something with it!) and create something is what I did!

I'll give you a little sneak peek here, but to see the finsihed project and get the instructions, you'll have to head over to our new blog at www.kellycraftblog.blogspot.com. We just started the blog, so if you're looking for new ideas on how to use this fabulous new tool, (because I just know you're going to go out and buy one!!!) go check out the great things we're working on. Have I mentioned how much I love this tool?! (hee hee)

Thanks for joining me. Until next time...
 
Crafty hugs,
 
Lisa
Stampin' Queen Creations
 
Give The Queen A Call!!!


Monday, September 17, 2012

Looking Into The Past- Popcorn Wall Hanging

Hi Everyone,

Talk about a "Blast from the Past" this project is just that! Have you ever thought about making a wall hanging from a Jiffy Popcorn container? Well, I did and yep this project is made from a Jiffy Popcorn container!

I have said in the past, that when I first started on my journey as a professional designer in the craft industry that the first few projects I ever had published where in Aleene's Craft Club. This is one of those projects.

It's a very simple project to create and you can use it as a wall hanging, but it would also be very cute to give as a gift. The only problem with that is the person you are giving the gift to may not want to take it apart to cook the popcorn!

As I said, it's very easy to make. All you need to do is remove the popcorn cover, trace it onto some cardstock and pattern paper. Then stamp something on the front, layer it with the pattern paper, adhere some pretty trim around the edge, add a bow and a saying for the top and that's it! You're done!

If you want to give the project as a gift, try doing this; Plan a movie night with some friends and instead of making just one, make two. The first one can be taken a part and used to cook the popcorn and the second one can be saved as a wall hanging. When you're creating the second one, leave a place on the front of you design for a picture. In a gift basket place both popcorn containers, a DVD, some popcorn bags, a bottle of wine, some wine glasses and a dessert. Take a picture of you and your friends on the movie night, print it out at your friends house (everyone has a printer now days!) and place it on the wall hanging. What a great way to capture the evening for many years to come!!!

 
Thank you for joining me. Until next time...
 
Crafty hugs,
 
Lisa
Stampin' Queen Creations
 
Give The Queen A Call!!!
 
© Lisa Rojas, Stampin’ Queen Creations


Friday, September 14, 2012

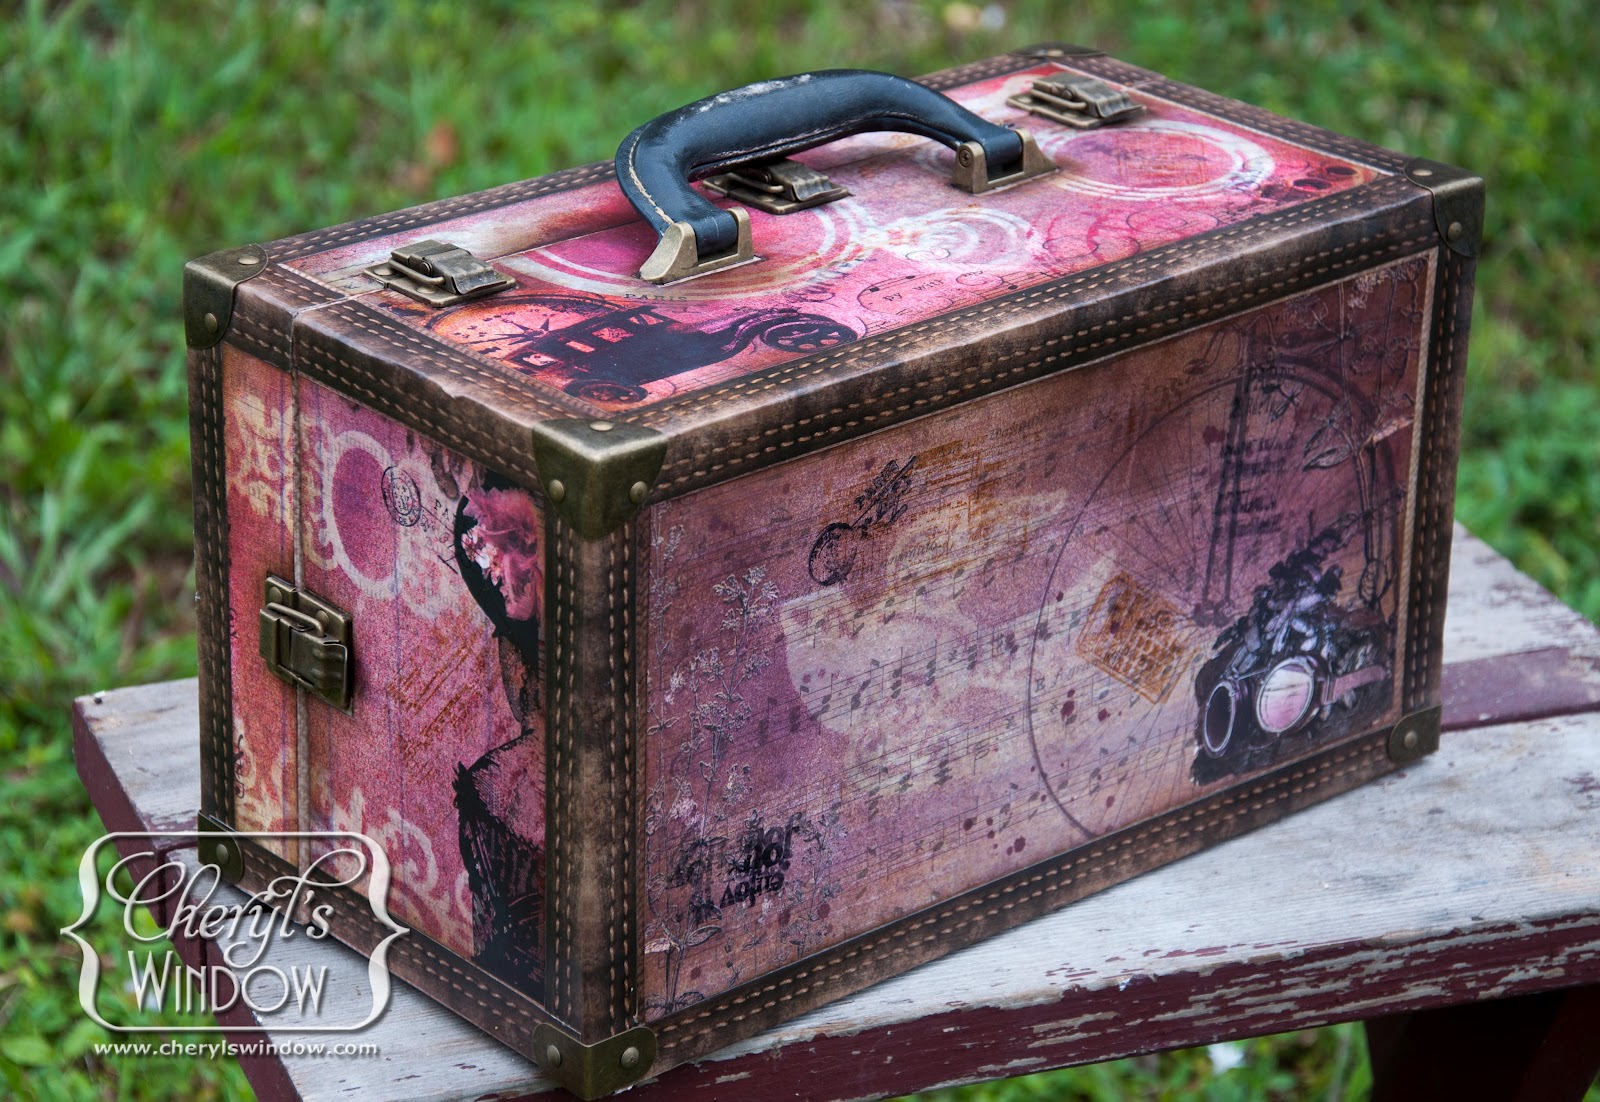
Guest Blogger- Cheryl Boglioli


 Hi Everyone,

It's Guest Blogger Day here at Stampin' Queen Creations! What does that mean you ask? Well, it means that every Friday I will take off my crown and pass it on to a fabulous professional designer who's work I respect more that words can say. Today I pass my crown to my friend, professional CHA Designer, Cheryl Bogliolo!!!

Cheryl is one of the sweetest people I have ever met. She always takes the time to stop and say something nice to someone and that's a quality that we just don't see that much anymore. I met Cheryl in 2011 when she joined CHA and I have had the privilege of watching her grow in her work for the last year. Cheryl is extremely talented and I always look forward to see what she'll come up with next.

Cheryl became a full time professional designer and educator in 2012 where she travels around teaching workshops at scrapbook stores and events. She works with multiple manufacturers in the craft industry and she loves staying on the cutting edge of new products and techniques.

Her project that I'm sharing with you today is just a small sample of her wonderful talent. For more information on Cheryl and her fabulous designs, please visit her website at www.cherylswindow.com.

Cheryl, thank you so much for allowing me to showcase your wonderful talent on my blog. I know that we haven't known each other for very long, but I look forward to getting to know you so much better. I absolutely adore you!!

Thank you for joining me. Until next time...
 
Crafty hugs,
 
Lisa
Stampin' Queen Creations
 
Give The Queen A Call!!!


Wednesday, September 12, 2012

Me & My Girl!!!

Hi Everyone,

For my post today I don't have anything crafty. I wanted to share this photo that my future daughter-in-law took of me and my baby fur girl Ruby Renee. Here we are sitting on the deck of our beach house in June.

I know that a lot of you can relate to the love I have for this little wiener dog! When I lost my beloved cocker spaniel Tawnee Renee two years ago after having her for 13 years, I NEVER thought my heart could open up again to another fur kid, it just hurt too much! But after waiting for a couple of months I finally gave in and brought Ruby home with me.

Well, that was two years ago and I'm so happy to say that although I miss my little Tawnee girl, Ruby has brought so much joy into my life and I couldn't imagine my life without her! Her personality is sooo much different than Tawn's was and that's ok with me.

Now if I can just get her used to our beach house and loud noises, I'll have it made. This was Ruby's second year at the beach house and I know that you can't tell from the picture, but she was scared to death! She doesn't like loud noises so the waves just terrified her. Hopefully by next summer she'll be a little calmer. But either way, I wouldn't trade her for anything. She is the love of my life!!!

Thank you for joining me. Until next time...
 
Crafty hugs,
 
Lisa
Stampin' Queen Creations
 
Give The Queen A Call!!!


Tuesday, September 11, 2012

KellyCraft Design Team- Great News!!!

Hi Everyone,

I am so very happy to announce that I have been selected to be on the Design Team for KellyCraft Innovations!!! If you don't know what I'm talking about then let me tell you a little about this fabulous new tool!!!

KellyCraft introduced a new tool to the craft industry at the CHA show in Chicago this past July. When I saw this new product being demonstrated, I was TOTALLY blown away! I have been a professional designer for the last 12 years but one of the things that I have never been able to master is drawing a straight line, even with a ruler! For a designer like myself this makes for a very big problem. Especially since one of my favorite techniques to use in my designs is layering. You really can't layer things well if you can't even draw a straight line with a ruler!!!

Thanks to the wonderful people at KellyCraft I don't have to worry about this any longer. They designed a tool called "Get-It-Straight" Laser Square. The Laser Square takes the guess work out of it for you. All you need to do is lay your items down on your work table, turn the laser light on and line up your papers, photos, whatever you need to get straight!

I now have my hair growing back in, because I'm no longer pulling it out of my head in frustration. Thank you KellyCraft for the fabulous new tool, for asking me to design for you, and for a full head of hair again. I love it all!!!

Thank you for joining me. Until next time...
 
Crafty hugs,
 
Lisa
Stampin' Queen Creations
 
Give The Queen A Call!!!
 
For more information on this fabulous new tool check out their website at-
 
This is one tool that you just have to have in your toolbox!!!


Monday, September 10, 2012

Looking Into The Past- Garden Lamp


Hi Everyone,

If you follow my blog (or you're here for the first time) last week I wrote a post on a lamp that I created for my mom and told you that I went through a period where I was hooked on designing lamps for the home.

This project is something I designed a number of years ago for The Rubber Stamper magazine. I found this watering can and when I was talking to it at the store, it told me that it wanted to become a lamp for my home (yes, I talk to products all the time...insane?...probably!) So, I purchased an electrical kit, a lamp shade and some other supplies and this Garden Lamp was created!

Thank you for joining me. Until next time...
 
Crafty hugs,
 
Lisa
Stampin' Queen Creations
 
Give The Queen A Call!!!


© Lisa Rojas, Stampin’ Queen Creations


© Lisa Rojas, Stampin’ Queen Creations

Friday, September 7, 2012

Guest Blogger- Susan K. Weckesser!!!

Hi Everyone,

It's Guest Blogger Day here at Stampin' Queen Creations! What does that mean you ask? Well, it means that every Friday I will take off my crown and pass it on to a fabulous professional designer who's work I respect more that words can say. Today I pass my crown to my friend, professional CHA Designer, Susan Weckesser!

I met Susan for the first time last January at the CHA show in Anaheim. Susan is such a wonderful person that just by being around her makes you want to smile. She has a beautiful glow that surrounds her and everyone near her. Susan's talent can be described as whimsical and inspiring!  I absolutely love her designs and her artwork just knocks my socks off!!!

Susan has her own paper line called "Live in Color" and her designs have also been made into a stamp line with Unity Stamp Co. For more information on Susan's work, please visit her website at www.susankweckesser.com.

Susan, thank you so much for allowing me to showcase your beautiful artwork on my blog. I appreciate it so much and I admire you more than words could ever say. Keep spreading that "sunshine" wherever you go!!!

Thank you for joining me. Until next time...
 
Crafty hugs,
 
Lisa
Stampin' Queen Creations
 
Give The Queen A Call!!!
 
Ashjescanvas

 This project of Susan's can be found here- http://mysweetearth.blogspot.com/2010/03/altered-spring-canvas.html


Wednesday, September 5, 2012

Wordless Wednesday- "Thank Heaven" Scrapbook Page


Wordless Wednesday's are the days that I post just a project without instructions or a supply list. 
 
Hi Everyone,
 
My Wordless Wednesday is about as basic as you can get with scrapbooking. This project is so simple, it would be a great project to work on with your children on one of those rainy days that will be coming upon us very soon.
 
For this scrapbook page all you need is your pictures, some stickers and cardstock. No muss, no fuss! These two pages took about 30 minutes to create from start to finish. Of course if you're working with your little ones, it may take a little longer if you include the snack and potty breaks!
 
This scrapbook page was created with pictures of my daughter on her first Halloween in 1982. Wow! 30 years ago I was trick & treating with my little girl and next year I'll be trick & treating with my grandbaby for HER 1st Halloween. It'll be so much fun!  I can't wait!!!
 
Thank you for joining me. Until next time...
 
Crafty hugs,
 
Lisa
Stampin' Queen Creations
 
Give The Queen A Call!!!


Monday, September 3, 2012

Designer Craft Connection- Tea Time Lamp


Hi Everyone, 

Once again it’s the first Monday of the month and that means it’s time for another fun & fabulous blog hop with the professional craft designers from Designer Craft Connection. 

For our theme this month we chose “Vintage”. Now I’m sure that everyone has a different view of what that might mean, but for me, it meant creating a project using items from the past.  And that is just exactly what I did when I created this project. 

A few years ago I went through a lamp making faze where I created all these different beautiful lamps that were especially made for each of my clients. They would pull together different family heirlooms that were special to them and I would create a lamp for them. The lamp that I’m sharing today was made for my mom. 

The “Tea Time Lamp” was made from old jewelry pieces, a glove, handkerchief, doily, and a tea cup and saucer that my mom had saved from my grandmother. I knew that these were items that my mom cherished and I wanted to incorporate them into a special keepsake for her but I couldn’t think of an idea that would work with everything. Then the lamp idea hit me and it just ballooned from there. The next thing I know, I’m getting calls from our family and friends asking if I would create a lamp for all of them!  

I hope you enjoy our hop today and if this is your first time hopping with the Designer Craft Connection, don’t worry because it’s very easy to do. Go to the Designer Craft Connection blinkie on the right hand side of my blog and click the forward button. You will then be taken to the 40+ designer’s blogs that are participating in the hop. You’ll walk away from your computer with 40+ different ideas to recreate for yourself and your family and friends! Now that’s a lot of ideas!! Have fun and happy hopping!!! 

Special Announcement!!! 

OMGoodness! I almost forgot to tell you about a special hop and give away we are also doing this month! Here are all the details for that- 

Crafty KT is sponsoring 

The KOOL TAK™ Manufacturer Challenge: Fabulously-Fall Blog Hop.
September 8 to September 18 

Join us and visit the blogs of 12 professional and creative craft designers as they show you how to create some great fall projects with Kool Tak™ products. 

Make sure to enter the Kool Tak™ giveaway, which is valued at about $70.00 

Kool Tak™ 1 Layer Perfect (Use it for centering, piercing, and edge stitching) Tool
Kool Tak™ 1 Shiny Transfer Foil Sheets (Earth Tones)
Kool Tak™ Clear Foam tape ¼ x ¼ x 1/32” thick
Kool Tak™ Clear Foam tape 3/16 x 1/16 thick by 1.6 yards
Kool Tak™ Premium EXTREME 2 ½ x 27 yards 

We will choose one lucky giveaway winner from those who sign up for our newsletter. You only need to enter once.  

Only those with a mainland USA shipping address are eligible to win the giveaway. 


Thanks for joining me. Until next time… 

Crafty hugs,

Lisa
Stampin’ Queen Creations 
 
"Tea Time Lamp"

 
Materials Needed 

Aleene’s Glue Gun
White Acrylic Paint
Trim For Lampshade
Wood Base
4 Wood Balls 1 1/2”
Lampshade
Electrical Lamp Kit
Dried Flowers, Spanish Moss & Floral Foam
Costume Jewelry, White Handkerchief, Blue Handkerchief, White Lace Doily
Tea Cup & Saucer, Silver Bowl 

Instructions 

Step 1.  Drill hole in base for the electrical to run through. Paint base and four wood balls white. Let dry. Glue doily and handkerchief to wood base. Poke a hole through both for the electrical rod to fit through. Assemble lamp kit according to manufactures instructions.                        

Step 2.  Fill teacup with Spanish moss and floral foam. Glue dried flowers in tea cup.  Next, glue teacup & saucer, silver bowl, glove, flower and jewelry to base. Fold handkerchief and attach jewelry pin. Glue in the silver bowl. 

Step 3.  Glue white lace and pearls trim around the lampshade. Attach lampshade to lamp.

Friday, August 31, 2012

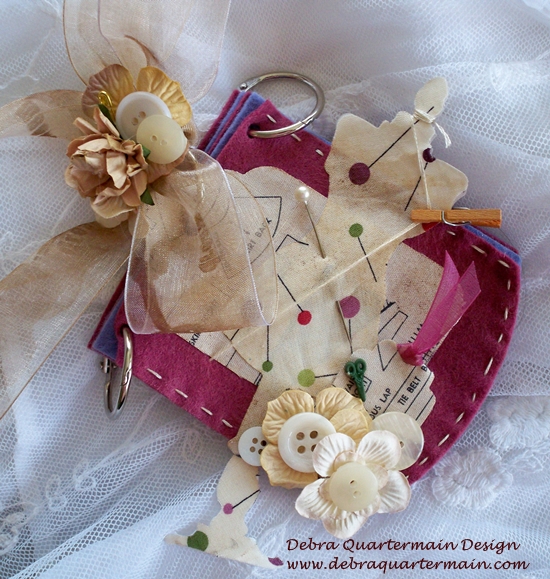
Guest Blogger- Debra Quartermain!!!


Hi Everyone,

It's Guest Blogger Day here at Stampin' Queen Creations! What does that mean you ask? Well, it means that every Friday I will take off my crown and pass it on to a fabulous professional designer who's work I respect more that words can say. Today I pass my crown to my friend, professional CHA Designer, Debra Quartermain!!!

I have known Debra for a number of years and she is fabulous designer with a heart of pure gold! I have never really acquired the ability to sew, and when I meet someone that has that ability I am always amazed. And what Debra can achieve with a sewing machine is not only amazing...her work is absolutely stunning!

Here is the official scoop! Debra Quartermain, CEO! Creative Eternal Optimist shares her enthusiasm for creativity through books, magazines, print ads, project sheets and manufacturer product development. Teaching, consulting or demonstrating her goal is to always inspire and motivate everyone's creative spirit! Her main areas of expertise are creating whimsical characters, fashion & home decor accessories. Her designs and articles have appeared in hundreds of magazines, Creative Homearts, Crafts n' Things, Creative & Decorate, Country Sampler, Quilting Treasures, Bead Unique. For more information on Debra, please check out her website at-


Debra, thank you so much for allowing me to showcase your beautiful work on my blog. I am in awe of your talent and so happy to call you my friend! It is my pleasure to pass my crown on to you today!!!

Thank you for joining me. Until next time...
 
Crafty Hugs,
 
Lisa
Stampin' Queen Creations
 
Give The Queen A Call!!!


Wednesday, August 29, 2012

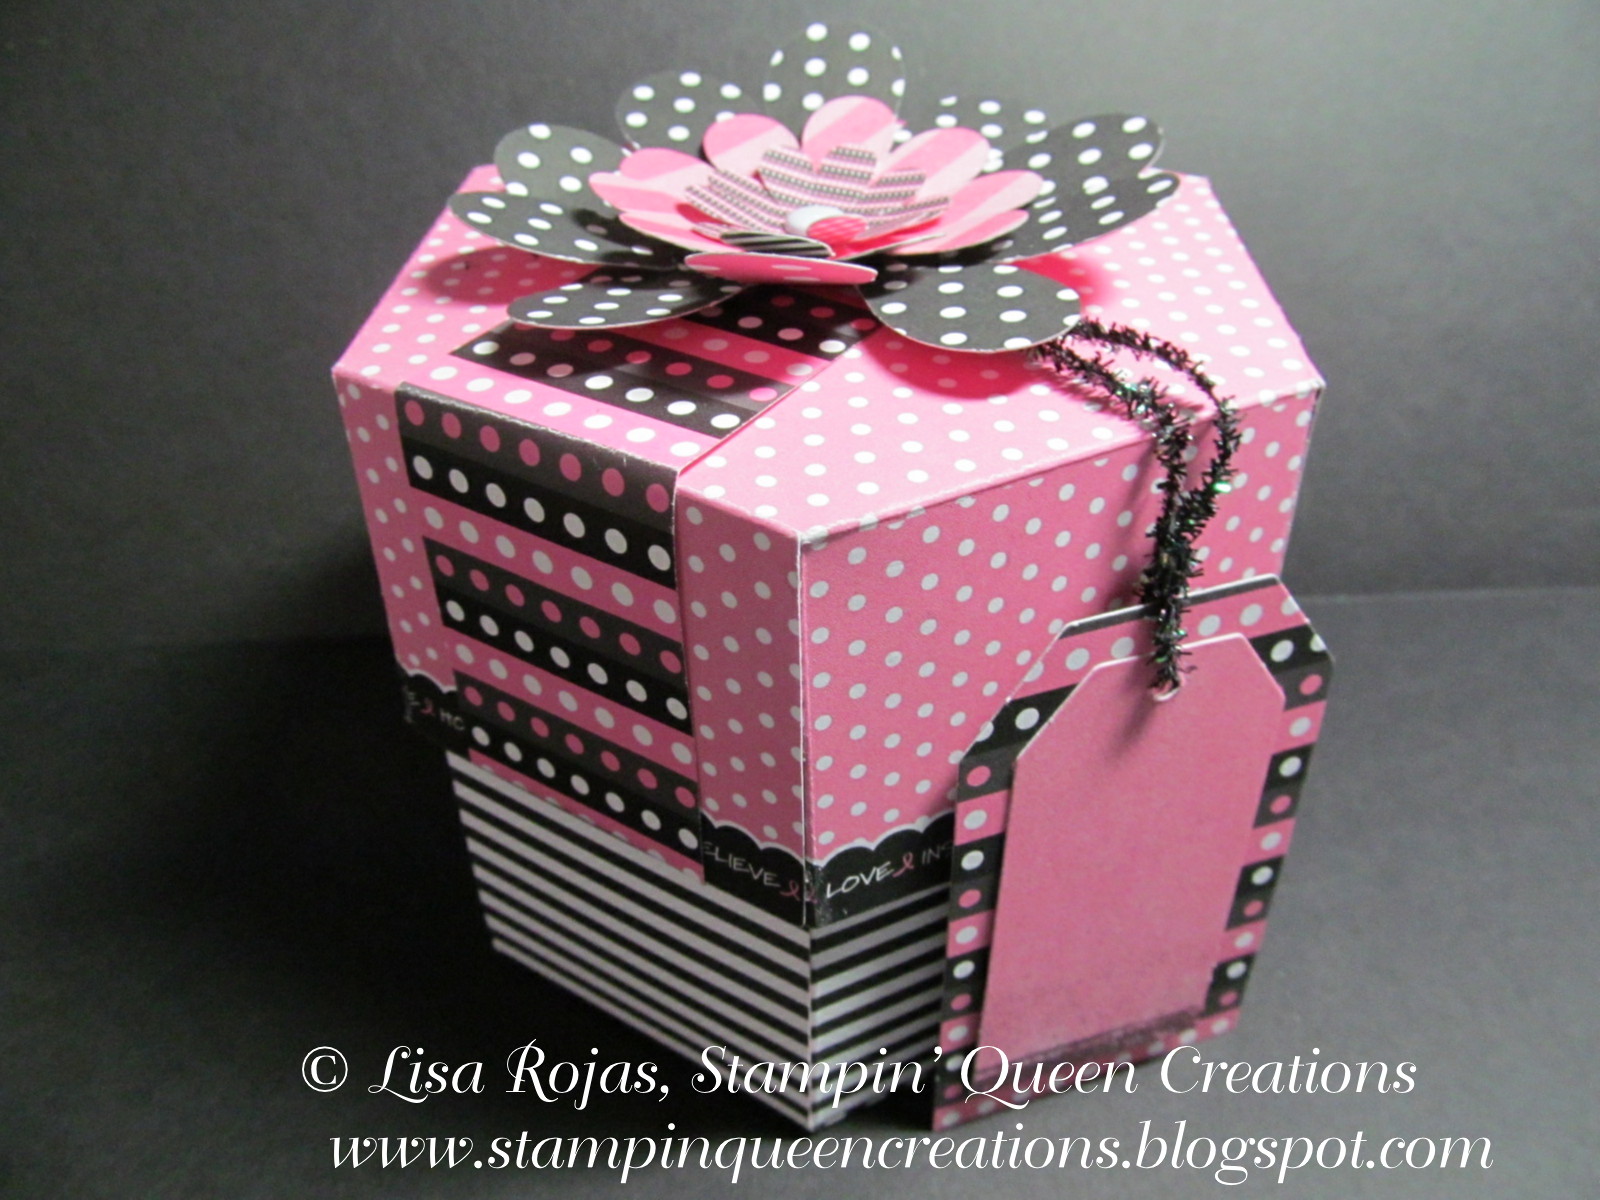
Wordless Wednesday- Cupcake Box by Glimpses by Signify Pink!

Wordless Wednesday's are the days that I post just a project without instructions or a supply list.
 
 
Hi Everyone,
 
My Wordless Wednesdays project today is so totally cool and easy that you don't need instructions from me!
 
I know, you think I have lost my mind but I'm really telling you the truth. This cute cupcake box comes pre-cut with the instructions to put it together from the very talented people at Glimpses by Signify Pink. This project is so easy you can put it together in 15 minutes! How cute would a bunch of these boxes look on a table for a bridal shower, baby shower, birthday party, etc. You get the idea!  Hummm...I have a baby shower to plan pretty soon. You know I'll be contacting this company for more boxes!!! Too cute!!!
 
For more information on these fabulous boxes, please visit their website at-

Thank you for joining me. Until next time...
 
Crafty Hugs,
 
Lisa
Stampin' Queen Creations
 
Give The Queen A Call!!!


Monday, August 27, 2012

Be Inspired Wood Album

Hi Everyone,

For today's post I thought I would share a wood album that I made about a year ago. Like any of the project that I share on my blog, if the stamps are no longer available, you can always replace them with stamps that are on the market now.

This project is very easy to create and a great way to add wood in your project if you're afraid to stamp directly on the wood. When I first began stamping many years ago, I loved making projects with wood products but I was always a little afraid about stamping right on my wood piece. What if I mess it up? How would I ever begin to fix it? Well, I can say that I no longer feel that way and I have learned many ways to fix problems when stamping on wood simply through trail and error.

Thank you for joining me. Until next time...
 
Crafty hugs,
 
Lisa
Stampin' Queen Creations
 
Give The Queen A Call!!!


Be Inspired Wood Journal
SUPPLIES
Walnut HollowÒ wood journal
Mulberry paper- Natural
FrescoÔ Chalk-Finish inkpads- Venetian Sunrise, Golden Parchment, Olive Grove, Medici Marble,
and Amaretto Truffle
Stamp-A-Memory Ô inkpads by All Night MediaÒ- Soft Rose and Sand
Brilliance pigment inkpad by TSUKINEKOÒ- Graphite Black
Clear embossing powder
KrylonÒ Preserve It! Spray Sealer
KrylonÒ Spray Adhesive
Crafter’s PickÔ The Ultimate! Glue
ColorboxÔ Foam Tip Applicators
Copper sheet
Magic MeshÔ- Tan
Heat tool
Assorted fibers and beads
Rubber Stamps:
Create & Inspire by Stampa Rosa
Goddess of Art by Stamps Etcetera
Paintbrushes by Art Impressions
Letters & Time by Stampington & Co.
Woman’s Face by Limited Edition
Goddess Key by Acey Deucy
Italian Poetry Background by Hero Arts
 
INSTRUCTIONS 
Step 1. Remove screws from journal. Apply spray adhesive to wood journal and cover with mulberry paper. Using Direct to Paper technique, apply inks to front, back and sides of journal. Put journal back together.
Step 2. Stamp images randomly to the front of the album using the chalk-finish inkpads. Spray front and back of journal with sealer. Stamp two images on the copper sheet with black pigment inkpad. Emboss with clear powder and melt with heat tool.
Step 3. Cut metal images out with scissors. Cut two pieces of Magic Mesh slightly larger than the metal pieces. Lay Magic Mesh on journal and adhere metal pieces with The Ultimate! glue. Wrap assorted fibers around the end of the journal and add beads.


Friday, August 24, 2012

Guest Blogger- Dawn Lotharius

Hi Everyone,

It's Friday and at Stampin' Queen Creations that means I have the opportunity to share with you all another fabulous Guest Blogger. It is my pleasure to introduce to you my new friend, Dawn Lotharius!

Dawn is a CHA Designer and I met her for the first time at the CHA show held in Chicago this past July. Dawn is one of the sweetest person I have met and her talent is amazing! One of the things I find most endearing about Dawn is that she likes to call everyone "sweetie"! That says a lot about her personality. Everyone is "sweetie" to her and I love that!

And as I said, her work is amazing! She is an avid crafter and was a EK Success instructor at Michael's Craft Store. She loves teaching workshops in her home and various other places. Dawn enjoys stamping, scrapbooking and coloring with alcohol markers, but most of all loves working with new products.

For more in formation on Dawn's work, please visit her website at
http://www.dawnscraft.com/2012/08/can-i-buy-vowel.html  And Dawn is having a fabulous giveaway on her blog right now, so you don't want to miss that!

Dawn, thank you so much for allowing me to showcase your beautiful work! I'm so glad we met and I hope that our friendship will grow in the future. You are just a "Sweetie!"

Thank you for joining me. Until next time...
 
Crafty hugs,
 
Lisa
Stampin' Queen Creations
 
 
Give The Queen A Call!!!


Copyright Dawn Lotharuis 2012