Monday, December 27, 2010

Team Edward or Team Jacob- Which are You?

©2010 Lisa Rojas, Stampin’ Queen Creations

One of my favorite things to do besides my love of crafting is to read. I am an avid reader. I read every night before I go to bed. It’s the only thing that relaxes me enough to be able to go to sleep.
 I love to read books that belong to a series. You can get so much more involved with the characters if you have three or four books to read with the characters in them. About a year and a half ago I was cruising through Barnes and Noble looking for a new book series to read when I came across the Twilight books. Now, I realize that these books are advertised to appeal to the younger set, but my favorite types of books are in the horror/suspense category. I just love a good scary book! When I read the book’s description and I saw that it had vampires and werewolves in it, I knew these books were for me. Boy was I right! I read all four of these books in a little over a week. I was so hooked I couldn’t put them down. My husband came into my studio one day and asked, “Are you ever going to put those books down and get back to work?” I just laughed and told him to get out of my studio, I was busy reading!
 Once I completed all four books, I called my friends and my daughter to tell them they had to read these books. Needless to say, the books got passed around until everyone read them and it was unanimous, they were hooked too!
 Naturally when we found out the books were going to be made into movies, we couldn’t wait to see them. When the first movie came out I was very sick and didn’t get a chance to see it. Then when the movie became available on DVD, I was so excited! Finally I would get a chance to see it. Unfortunately I ended up in the hospital again. I had become very depressed because I was there for five weeks and I just wanted to go home. My sister-in-law called me one day and told me she would plan a party with our girlfriends as soon as I got home and we would watch the movies together. It gave me something to look forward to and I couldn’t wait to get home.
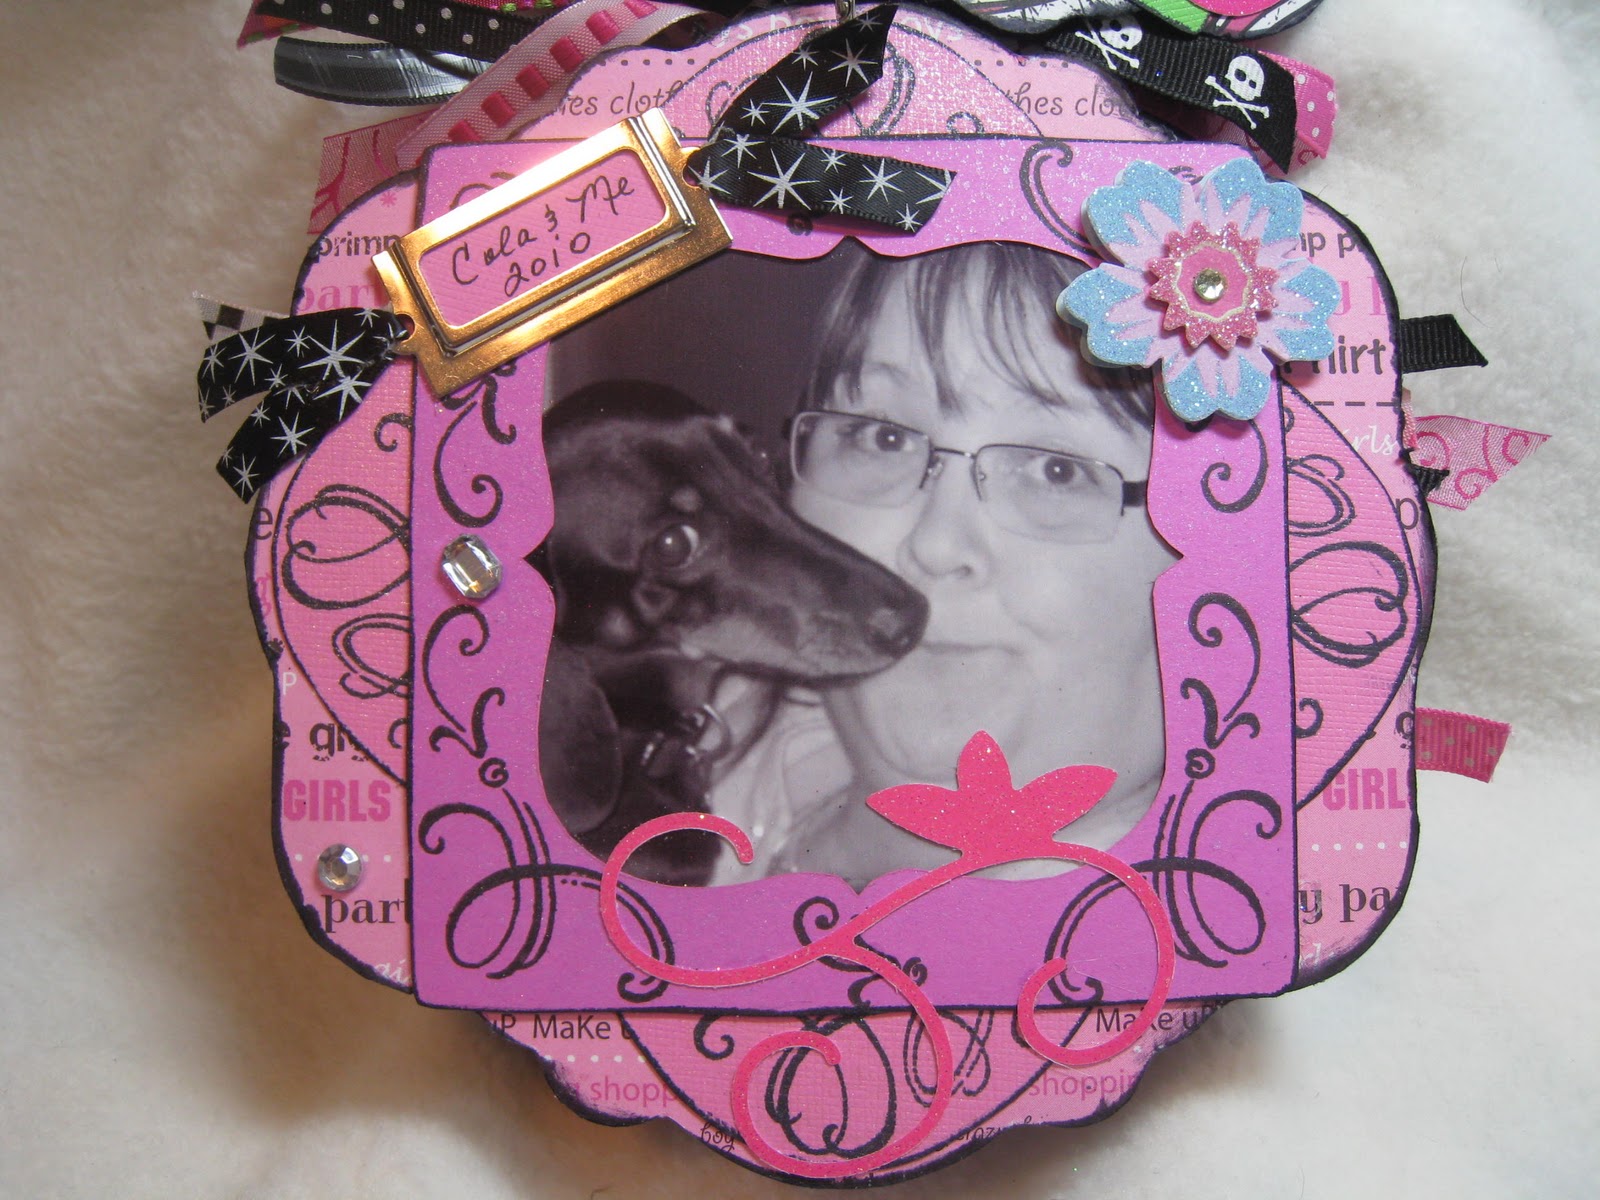
 That was how this crazy idea got started. Each time the movies came out on DVD, we would plan a party around them. We would decorate the house, make and eat way too much food, play games, and at the last party we decided to do a little crafting too. I wanted my girlfriends to have a special memento of out “Twilight Movie Nights” so I created these two picture frames, one for the girls that love Edward and one for the girls that loved Jacob. They are fun to make and easy enough for my “non-crafting” friends to be able to make them too.
 So, even if you’re not Twilight fans, why not find a movie that all of your girlfriends enjoy and make a party out of watching it together. It really is great fun and a wonderful way to bond with your girlfriends. What could be better than that?
  Until next time…
 Lisa
Stampin’ Queen Creations


©2010 Lisa Rojas, Stampin’ Queen Creations

©2010 Lisa Rojas, Stampin’ Queen Creations

New Moon Party Picture Frame

 Supplies
  • White card stock- 6”W x 6”H
  • Black card stock- 6”W x 6”H
  • Red and Brown card stock- 5 ½”W x 3 ½”H
  • White and Ivory card stock- 5 ¼”W x 3 ¼”H
  • New Moon pattern paper- 5 ¾”W x 5 ¾”H
  • New Moon title
  • Cricut Personal Cutting Machine by Provo Craft
  • Doodletype Cartridge by Provo Craft
  • New Moon stickers
  • Red and Clear gems
  • Crocodile Eyelet Setter by We are Memory Keepers
  • Silver eyelets
  • Silver heart paper clips
  • 
  • Red ribbon
  • Jute string
  • Zip Dry Paper Glue by Beacon Adhesives
 Note from Designer- The instructions given are for the Team Edward project. For Team Jacob, simply change the colors of the card stock, gems and stickers. All of the instructions are the same for both projects.
 Instructions
    
  1. Cover the black card stock with pattern paper using glue. Using Cricut machine cut out the word “Party” from white card stock. Adhere red and white card stock. Add picture.
  2. Adhere “New Moon” title and “party” and red gems with glue to frame. Add stickers.
  3. Using the Crocodile, punch out two holes in the top of the frame. Add eyelets. Tie red ribbon through eyelets to make the hanger.


Thursday, December 16, 2010

Sizzix Triple Play Blog Hop Week 7 Birthday Bag Toppers


Hi Everyone, Happy Holidays! Welcome back to the Sizzix Triple Play Blog Hop. This is week 7 of the hop and I’m sad to say, the last week. For the last 7 weeks I have had the privilege of working with 3 of Sizzix most talented designers, Eileen Hull, Karen Burniston and Brenda Pinnick, and the fabulous dies that they designed for the Sizzix Company.

I have enjoyed our weekly challenges and it never ceased to amaze me the multitude of talent among all of the designers that participated each week. I am honored to be a member of this very special group, and I want you to stay posted after today because we will be working on some great new things in the future.

For my final project, I used the Treat Bag Toppers die by Eileen Hull. This die is an easy way to add fun to any bag top. The possibilities are endless! This project would be great for a child’s birthday party and as I was creating it, I could visualize a room full of smiling, giggling children just waiting to find out what’s inside their bags. How much fun is that?! So, I say to you one last time (or until our ext blog hop!) make that trip to your local craft or scrapbook store and purchase this die. There are lots of smiley, giggly little people who will be happy you did!

Thanks for checking out the Sizzix Triple Play Blog Hop. Please visit http://www.tripleplay.typepad.com/ for more fun ideas from Brenda Pinnick, Karen Burniston, Eileen Hull and friends. If you have enjoyed seeing all of the inspiring ideas on the blog hop, please “like” Triple Play on Facebook: http://www.facebook.com/#!/pages/Triple-Play/125068950891362. And don’t forget to click on my blinkie on the right side of my blog so you can hop on over to the 60 plus designers to see what they created with this Treat Bag Topper die. Where else can you go to get 60 different ideas for one die? Nowhere but here. Check it out. You’ll be happy you did!

Until next time…

Lisa
Stampin’ Queen Creations


Monday, December 13, 2010

Sizzix Triple Play Blog Hop Week 6 "All About Me" Photo Book

Hi Everyone, Happy Holidays! Welcome back to the Sizzix Triple Play Blog Hop. This week we got to work with Brenda Pinnick’s Mini Album die. This album die was so much fun to work with! And since creating scrapbook albums, especially mini albums, is one of my most favorite items to create, this was a perfect fit for me.

For this project I did something a little different. Every time I create a new album, I always create one around one of my family members, a friend, or my fur kids, but this time I decided to do one about me. Yep, I said it. This project is all about me! I have always hated having my picture taken because I really don’t have any desire to see all of my chins! Let’s face it. No one wants to see that! but this past March after my 50th birthday I decided, who cares?! I have spent all of my adult life battling a chronic disease and I’m just happy to see my next birthday and all of my chins! So, I say to all of you, go to your local craft or scrapbook store and purchase this die. Then go home, snap some great pictures of yourself (and your chins) and create a fabulous album that’s All About You! It really is loads of fun!

©2010 Lisa Rojas, Stampin’ Queen Creations
Don’t forget to click on my blinkie on the right side of my blog so you can hop on over to the other 60 plus designers to see what they created with this Mini Album die. Where else can you go to get 60 different ideas for one die? Nowhere but here. Check it out. You’ll be glad you did!


©2010 Lisa Rojas, Stampin’ Queen Creations

Until next time…

Lisa
Stampin’ Queen Creations


Here’s what I used to make this fabulous project!

Supplies
Mini Album die by Brenda Pinnick
Big Shot Die Cutting Machine by Sizzix
Swirl 1 & 2 and Crown die cuts by Sizzix
Various Pattern papers
Card stock- Pink, Magenta, Lime Green, Black & Purple
Glitter papers- Lavender, Purple, Pink & Lime Green
Various Ribbons
All about me stickers by EK Success
Flower stickers by K & Company
Silver name plates
Various Gems
Vivid! Dye inkpad- Black by Clearsnap
Smooch Spray- Vanilla Shimmer by Clearsnap
Chipboard book
Chipboard frame
Zip Dry Paper Glue by Beacon Adhesives
Scissors
2 Crown brads
Silver eyelets
Croc-o-dile Eyelet setter by We R Memory Keepers
Stamps- Wedding Corners by Stampendous
©2010 Lisa Rojas, Stampin’ Queen Creations

©2010 Lisa Rojas, Stampin’ Queen Creations

©2010 Lisa Rojas, Stampin’ Queen Creations

Thursday, December 2, 2010

Sizzix Triple Play Blog Hop Week 5 "A Royal Thank You" Card

Hi Everyone! Welcome back to the Sizzix Triple Play Blog Hop. We are now on week 5 of our fabulous blog hop. This week we got to work with Karen Burniston’s wonderful Pop-Up Gift Card Holder die.

2010 Lisa Rojas, Stampin' Queen Creations
This pop-up die was a huge surprise for me. I thought when I saw it, it would be a little difficult to work with. Wrong! This die was so easy I had it put together within five minutes! I felt that because I’m the Stampin’ Queen (hee hee) the card that I would create to go with this pop-up die should be a “royal” one and so I created “A Royal Thank You.” But, with the holidays being right around the corner, this die would be great to create gift card holders for all the people on your gift list. Wouldn’t it be great to place a gift card to a local restaurant for your kid’s teacher? Or what about a gift card to a cd store for your babysitter? There are so many great things you can do with this pop-up gift card holder die.

2010 Lisa Rojas, Stampin' Queen Creations
Why not visit your local scrapbook or craft store and purchase this terrific die as an early holiday gift for yourself! I know that’s what I’m going to do. Woo Hoo! There’s nothing like a present to put a smile on my face. I love presents! What about you?

2010 Lisa Rojas, Stampin' Queen Creations
Don’t forget to click on my blinkie on the right side of my blog so you can hop on over to the other 60 plus designers to see what they created with this pop-up gift card holder die. Where else can you get 60 different ideas for one die? Nowhere but here. Check it out. You’ll be happy you did!

Until next time…

Lisa
Stampin’ Queen Creations